

Why This Build is a Gamble
Most of my late-game guides split production across multiple properties to avoid issues. But for those of you who insist on cramming everything under one roof, here’s the compromise:
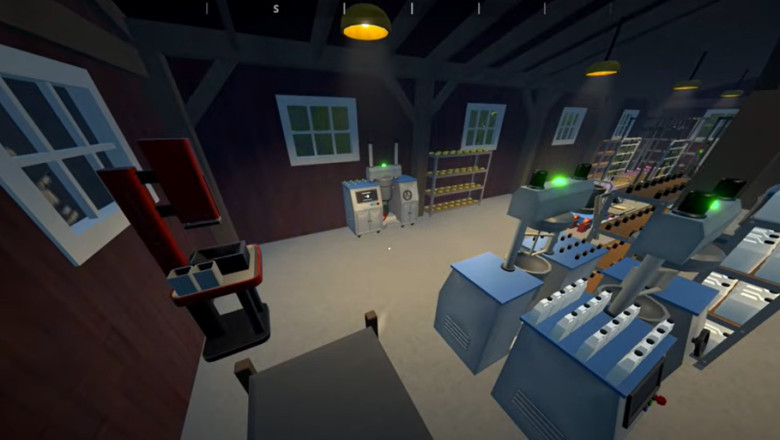
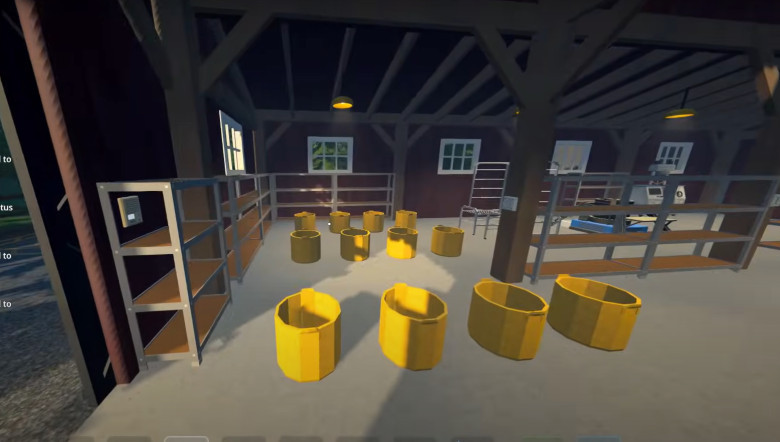
- 3 lanes of cocoa plants (8 pots per lane)
- 3 drying racks
- 3 cauldrons (the absolute max before things get weird)
- 3 lab ovens
- A very tight mixing station setup
It’s not perfect, but it works—as long as you’re okay with occasional hiccups.
Step 1: Layout & Symmetry
We’re keeping things simple:
- Cocoa plants line the walls near the entrance (aesthetic + easy access for botanists).
- Drying racks centered in the room (short walks = efficiency).
- Cauldrons placed symmetrically, each feeding into a lab oven.
- Mixing stations tucked behind the beams (more on this later).
Pro Tip: Use purple LED lights instead of grow lights. Why? Because vibes. (And yes, I’m sacrificing efficiency for style. Fight me.)
Step 2: Assigning Workers
Here’s the employee breakdown:
- 4 botanists: 1 per 4 pots (with overlap for drying racks).
- 2 chemists:
- Chemist 1 handles 2 cauldrons + 1 lab oven.
- Chemist 2 handles 1 cauldron + 2 lab ovens (to minimize cauldron bugs).
- 2 handlers: For mixing stations and brick pressing.
WARNING: If you skip 8-step mixing, you can ditch a handler—but where’s the fun in that?
Step 3: The Mixing Station Chaos
This is where things get spicy. We’re squeezing 8 mixing stations into a cramped space, with supply shelves wedged wherever they fit.
Key Notes:
- Thresholds set to 10 (prevents overflows).
- Back-to-back mixing stations save space (but good luck walking).
- Final product routes to a single brick press (because we’re not monsters).
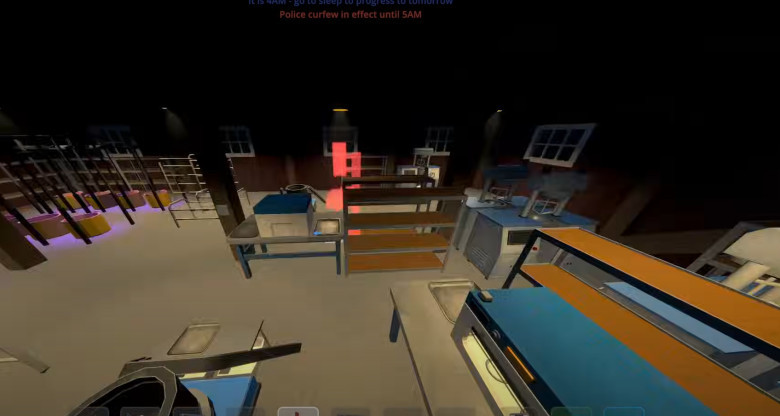
Step 4: Testing & Troubleshooting
Of course, nothing goes smoothly:
- Bug #1: Forgot to reassign plant pots to drying racks. (Whoops.)
- Bug #2: Botanists froze because I moved racks too much. (Save, quit, restart.)
- Bug #3: Chemists taking forever to walk across the barn. (Solution: Yell at them.)
Final Output: ~1 brick every 15-20 mins (heavenly quality). Not amazing, but decent for a one-roof operation.
Should You Use This Build?
Honest answer? If you want max efficiency, check out my Bungalow Mega Lab guide. But if you’re dead-set on a single-roof setup, this works—just don’t expect perfection.
Final Thoughts
- Pros: Compact, easy to manage, and looks cool under purple lights.
- Cons: Requires babysitting, occasional bugs, and you’re the janitor (sorry).
TL;DR: Sometimes less is more… but sometimes more is more, and that’s okay.
How To Build The Barn Like a Pro (Schedule 1)


Comments
0 comment